微信小程序蓝牙开发调试指南

目录
蓝牙(Bluetooth) 相信大家都听说过,它是一种无线通讯技术,是无线电波的一种。有趣的是,Bluetooth 其实是 10 世纪统一丹麦的国王哈拉尔(HaralBluetooth)的名字。后来英特尔的一位工程师在一次无线通讯会议上提议将这种无线通讯技术命名为 Bluetooth,意在将当时四分五裂的通讯协议统一。
蓝牙知识简介⌗
蓝牙根据使用场景的不同可以分为两种:
- 低功耗蓝牙(Bluetooth Low Energy): 简称 BLE,一般用可穿戴设备、物联网、智能家居等场景。特点是功耗极低,传输数据量小,传输速率低。
- 蓝牙(Bluetooth): 又称传统蓝牙,一般用于耳机等音频、电话等场景。特点是功耗高,传输数据量大,传输速率高。
根据业务场景的不同,蓝牙设备又可以分为两种:
- 外围设备(Peripheral): 设备主动发起连接,比如手机、电脑等。
- 中心设备(Central): 设备被动连接,比如智能手环、智能手表等。
本文主要介绍低功耗蓝牙(BLE)在微信小程序上的应用。使用手机作为中心设备,通过小程序的蓝牙 API 连接蓝牙模块,实现蓝牙通信。
使用到的设备和软件如下:
- 手机:iPhone 15 Pro
- 蓝牙模块:RC6621F(智汉科技)
- 开发工具:微信开发者工具
- 串口调式工具:WildFire(野火多功能调试助手)
- 硬件:USB 串口转 TTL 模块
小程序连接流程⌗
1.初始化,小程序上使用蓝牙功能之前,需要先调用 wx.openBluetoothAdapter 初始化蓝牙模块。
  // 初始化蓝牙适配器
  initBluetooth() {
    wx.openBluetoothAdapter({
      mode: 'central'
    }).then((res: any) => {
      console.log('蓝牙适配器初始化成功', res)
      this.searchDevices()
      wx.getBluetoothAdapterState().then((state: any) => {
        console.log('本机蓝牙设备状态', state)
        this.setData({
          adaptorAvailable: state.available
        })
      })
    }).catch((error: any) => {
      console.log('蓝牙适配器初始化失败', error)
    })
  }
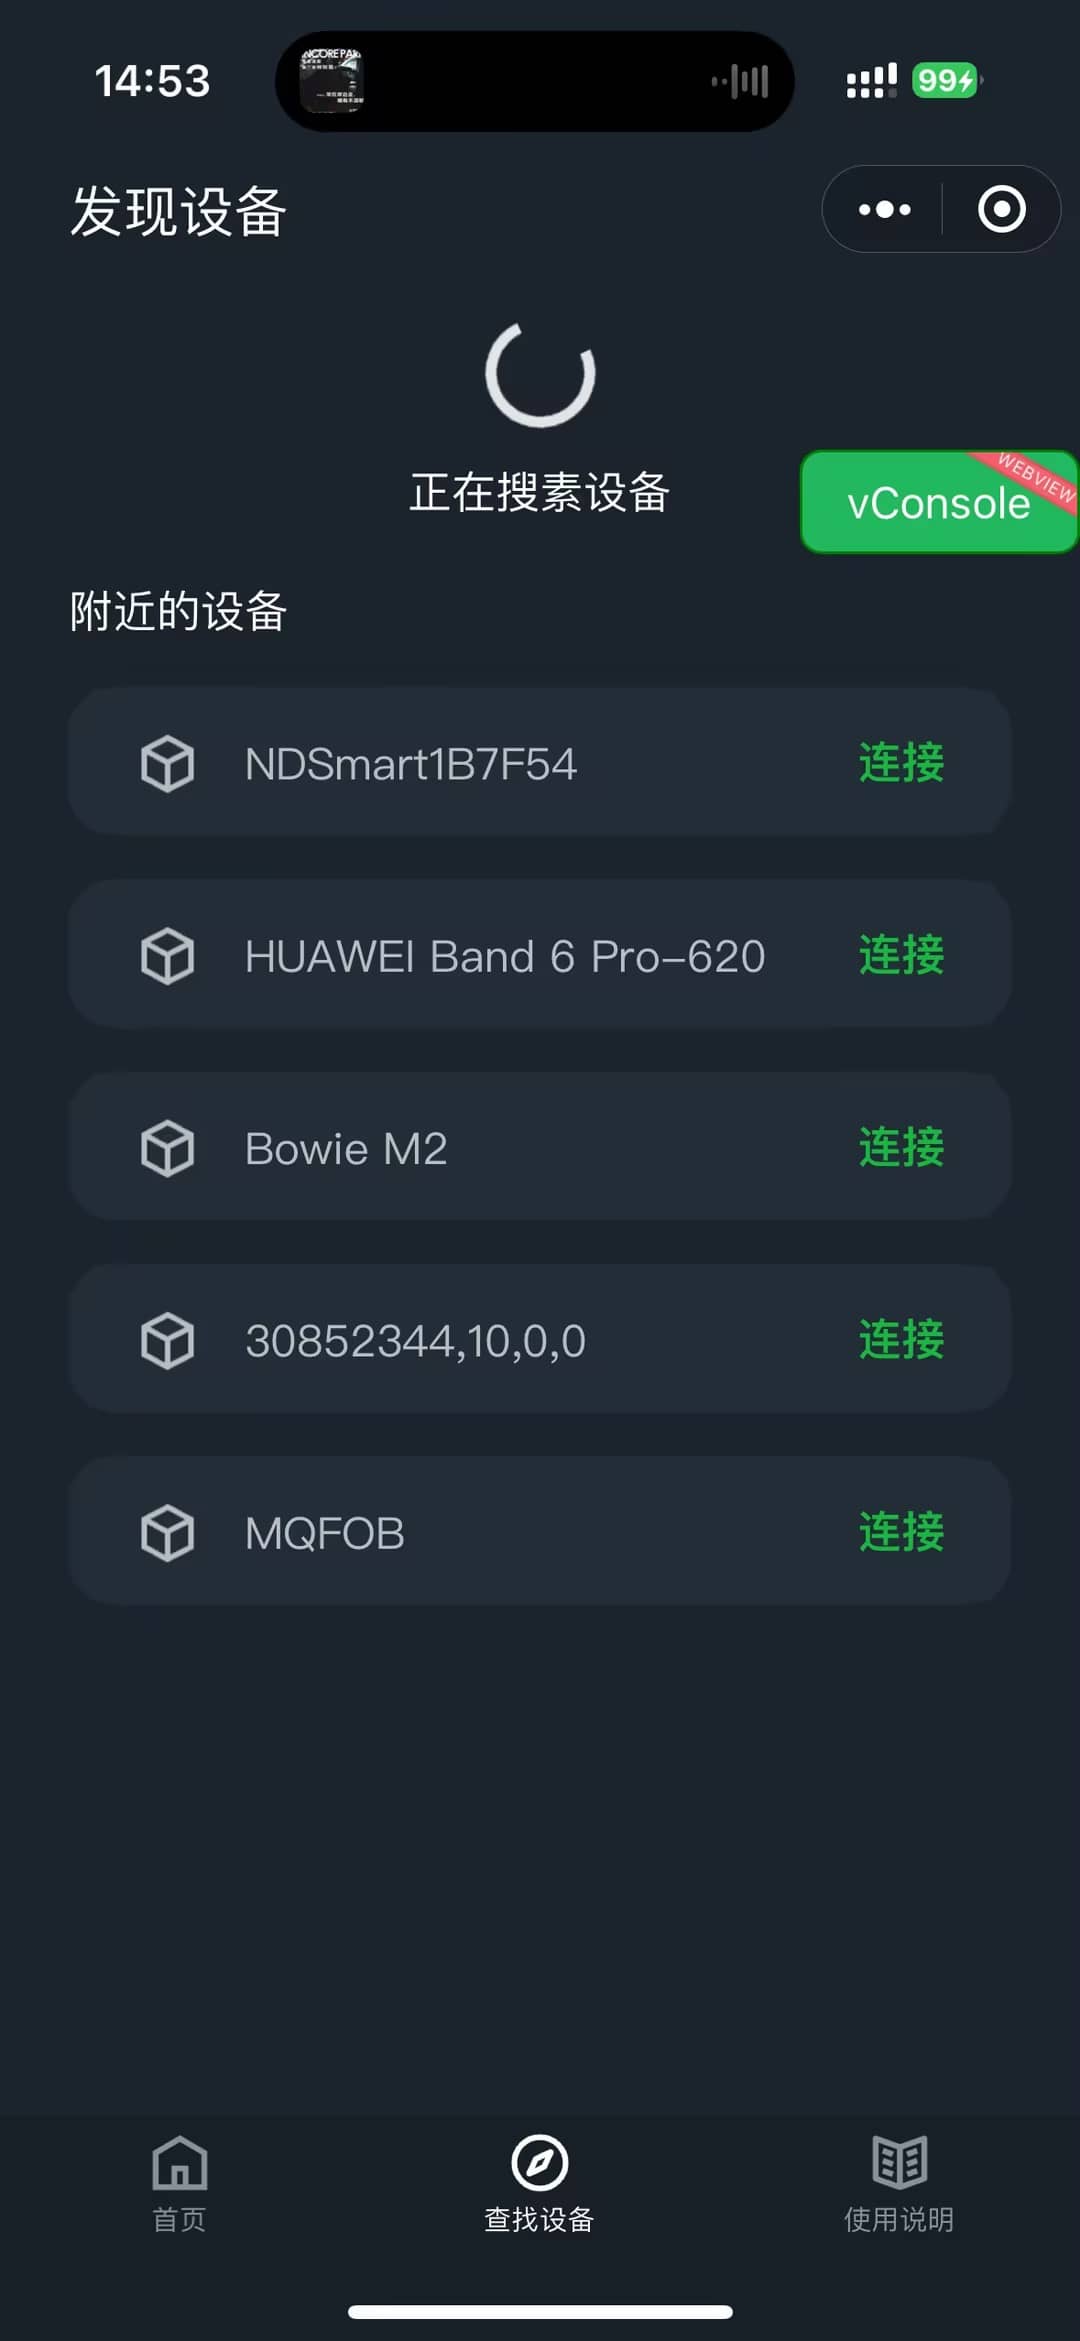
2.搜索蓝牙设备,调用 wx.startBluetoothDevicesDiscovery 接口开始搜索附近的蓝牙外围设备。
注意,这个接口并不会直接返回搜索到的设备,而是告诉系统开始搜索扫描,需要监听 wx.onBluetoothDeviceFound 事件来获取搜索到的设备。
  searchDevices() {
    this.setData({
      searching: true
    })
    wx.startBluetoothDevicesDiscovery().then(() => {
      // 无论结果如何,5秒后停止搜索
      setTimeout(this.stopSearch, 5000)
      wx.onBluetoothDeviceFound((res: any) => {
        this.setData({
          devicesList: this.data.devicesList.concat(res.devices.filter((item: any) => {
            return this.isValidDevice(item) && !this.isDeviceInList(item)
          }))
        })
      })
    }).catch(() => {
      this.stopSearch()
    })
  }
3.停止搜索设备,避免浪费系统资源。此步骤并非必须,但建议在搜索到设备后停止搜索。
  stopSearch() {
    wx.offBluetoothDeviceFound()
    wx.stopBluetoothDevicesDiscovery()
    this.setData({ searching: false })
    console.log('当前已发现设备列表', this.data.devicesList)
  }
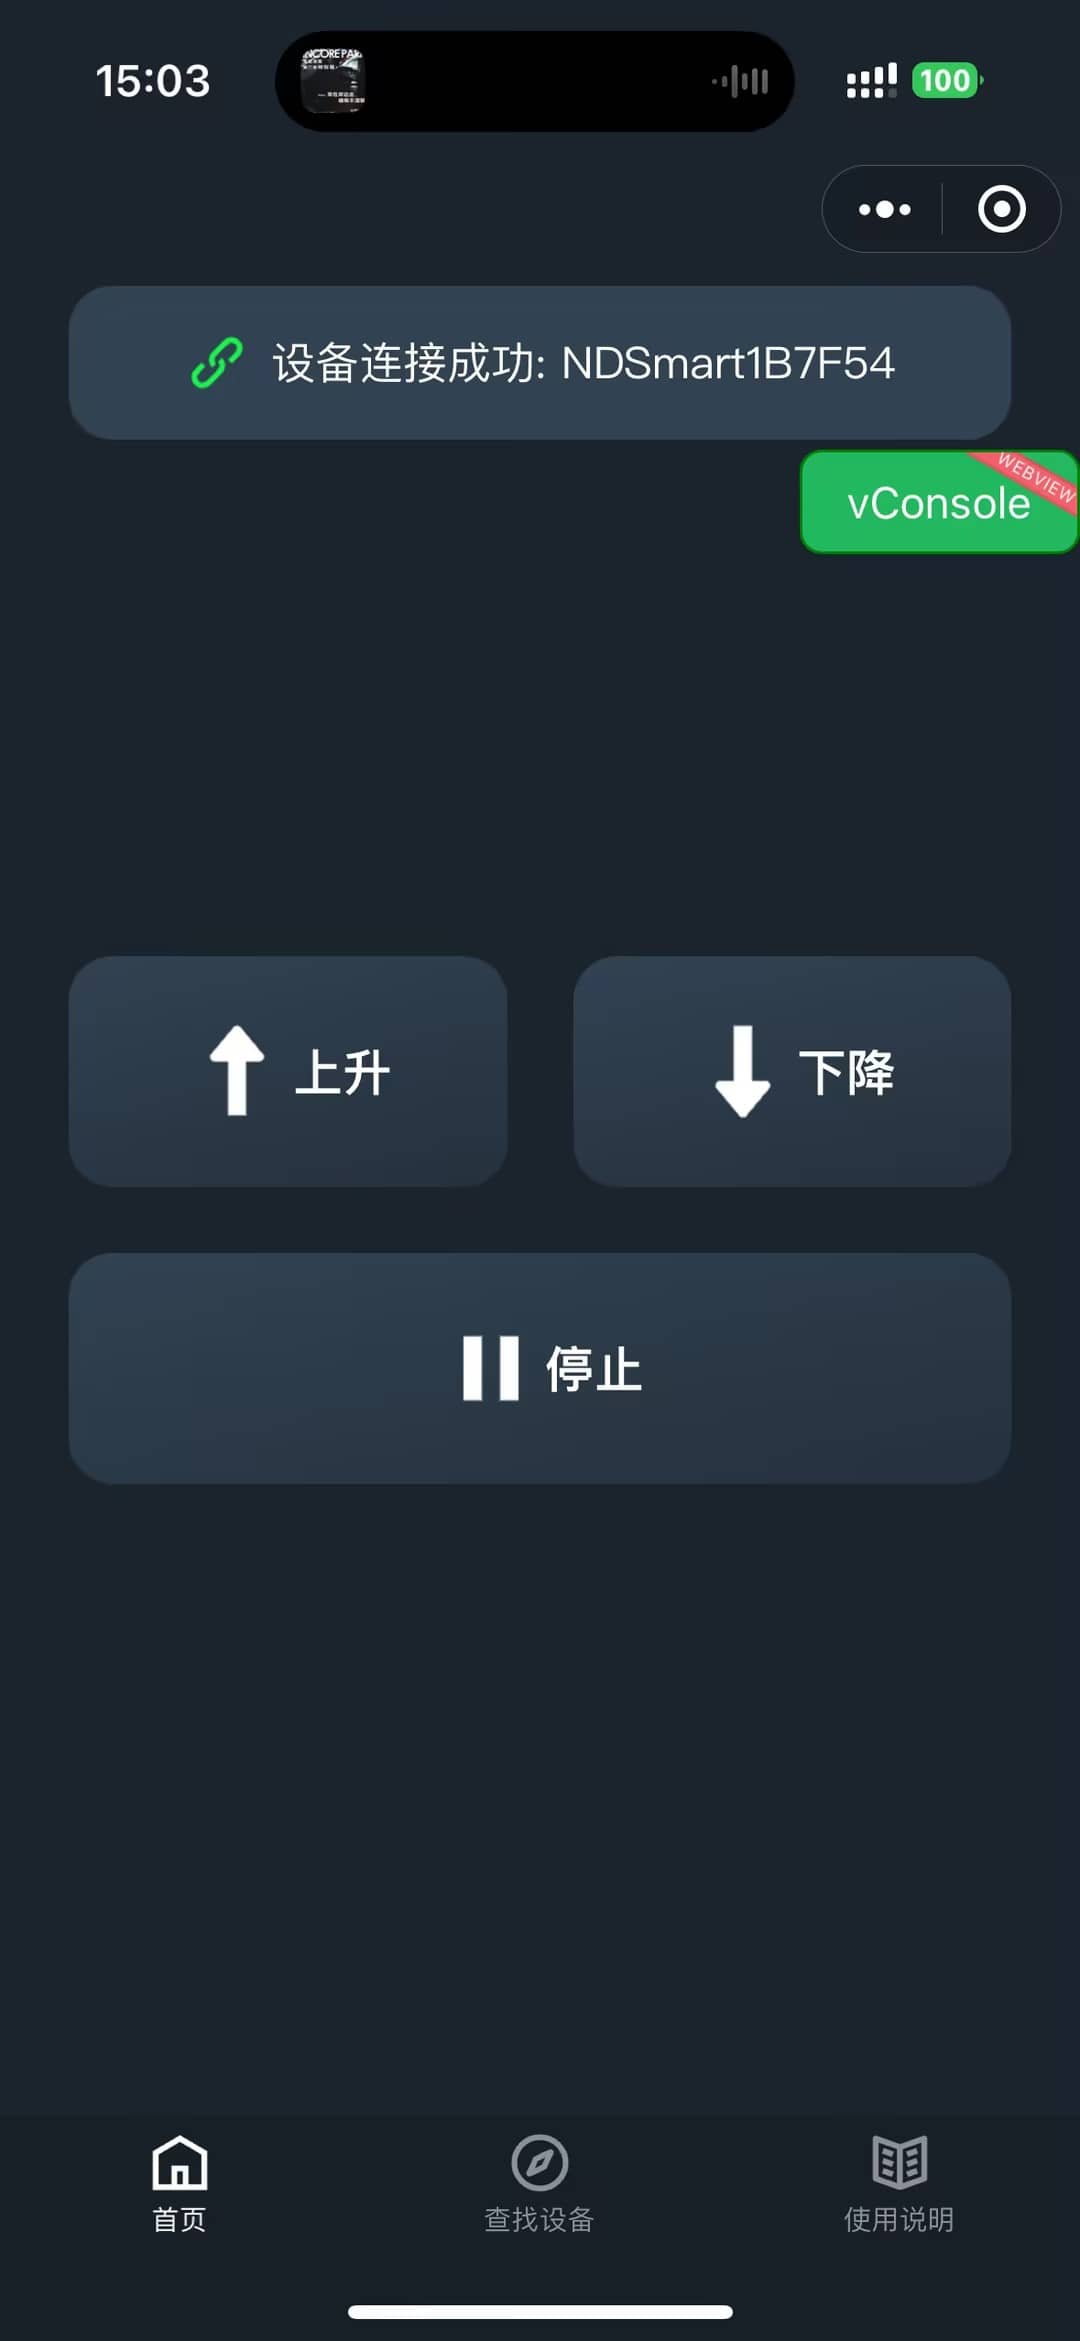
4.连接设备,并获取设备信息。搜索到目标设备之后,点击目标设备,进行连接。
这里涉及到到三个重要的信息:
- deviceId:设备标识,每个设备只有唯一一个标识。
- serviceId:服务标识,每个设备可以包含多个服务,因此一个 deviceId 可能对应有多个 serviceId。
- characteristicId:特征标识,可以理解为一条通道,每条通道能进行的操作不同,比如 read、write、notify。每个服务可以包含多个通道,因此会有多个 characteristicId。
以上三个信息,需要依次获取。首先搜索到的设备会包含 deviceId,然后通过 wx.createBLEConnection 连接设备,连接成功后再通过 wx.getBLEDeviceServices, 获取 serviceId,再通过 wx.getBLEDeviceCharacteristics 获取 characteristicId。
serviceId 和 characteristicId 都有多个,如何确定使用哪一个?
一般来说,使用的蓝牙模块芯片都会提供文档,文档会告诉你这款设备的 serviceId 和 characteristicId。如果文档有明确说明,那可以直接写死。 如果没有文档,按照以下步骤获取:
deviceId 是确定的,利用 deviceId 获取到所有的 serviceId,依次遍历 serviceIdList,并利用每个 serviceId 获取到所有的 characteristic(通道)。观察这些 characteristic(通道),可以发现每个 characteristic(通道)都有两个属性,分别是 characteristicId 和 properties。查看 properties 中的 read、write、notify,选择满足自己需要的通道。
注意,你需要选出的通道必须和 service 匹配,例如 A 服务里面有 a\b\c 三个通道,B 服务里面有 d\e\f 三个通道,你不能用 abc 配合 B 服务使用,也不能用 def 配合 A 服务使用。
  // 连接设备
  connectDevice(e: any) {
    wx.showLoading({
      title: '正在连接'
    })
    const deviceId = e.currentTarget.dataset?.id
    console.log('连接设备ID: ', deviceId)

    if(deviceId) {
      wx.createBLEConnection({
        deviceId,
        success: (res: any) => {
          console.log('蓝牙连接成功: ', res)
          wx.hideLoading()
          this.setData({
            deviceId
          })
          app.globalData.device = this.getDeviceById(deviceId)
          wx.showToast({
            title: '连接成功',
            icon: 'success',
            duration: 1000
          })
          this.stopSearch()
          this.getServiceId()
        },
        fail: () => {
          wx.hideLoading()
          wx.showToast({
            title: '连接失败',
            icon: 'error'
          })
        }
      })
    }
  },

  // 获取serviceId
  getServiceId() {
    wx.getBLEDeviceServices({
      deviceId: this.data.deviceId,
      success: (res: any) =>{
        console.log('蓝牙服务信息: ', res)
        const services = res.services || []
        const targetService = services.find((item: any) => item.uuid.includes('6E400001'))
        if (targetService) {
          console.log('目标服务ID', targetService.uuid)
          this.setData({
            serviceId: targetService.uuid
          })
          app.globalData.serviceId = targetService.uuid
          this.getCharactId()
        }
      }
    })
  },

  // 获取charecteristicId
  getCharactId() {
    wx.getBLEDeviceCharacteristics({
      deviceId: this.data.deviceId,
      serviceId: this.data.serviceId,
      success: (res: any) => {
        const characteristics = res.characteristics || []

        for (let index = 0; index < characteristics.length; index++) {
          const item = characteristics[index];
          if (item.properties.write) {
            this.setData({
              writeId: item.uuid
            })
            app.globalData.writeId = item.uuid
          }
          if (item.properties.notify) {
            this.setData({
              notifyId: item.uuid
            })
            app.globalData.notifyId = item.uuid
          }
          if (this.data.writeId && this.data.notifyId) {
            console.log('获取到特征值ID:', this.data.writeId, this.data.notifyId)
            break
          }
        }
      }
    })
  }
5.发送数据,利用 wx.writeBLECharacteristicValue 接口发送数据。
获取到 deviceId、serveId、characteristicsId 后,就可以进行数据交互了。
根据小程序官方的要求,给蓝牙设备发送的消息内容只能是 ArrayBuffer 格式,所以需要将数据转换成 ArrayBuffer 格式。
  // 单个字符串转buffer,根据业务要求,我这里只需要发送单个字符,需要发送多个字符的可以自行扩展
  string2buffer(value: string) {
    return new Uint8Array([parseInt(value, 16)]).buffer
  },

  up() {
    this.sendCommand(this.string2buffer('1'))
  },

  sendCommand(value: ArrayBuffer) {
    console.log('写入配置:', {
      deviceId: this.data.deviceId,
      serviceId: this.data.serviceId,
      characteristicId: this.data.writeId,
      value: value
    })
    wx.writeBLECharacteristicValue({
      deviceId: this.data.deviceId,
      serviceId: this.data.serviceId,
      characteristicId: this.data.writeId,
      value,
      success: (res: any) => {
        console.log('写入成功: ', res)
      },
      fail: () => {
        wx.showToast({
          title:'指令下发失败',
          icon: 'error'
        })
      }
    })
  }
6.调试输出
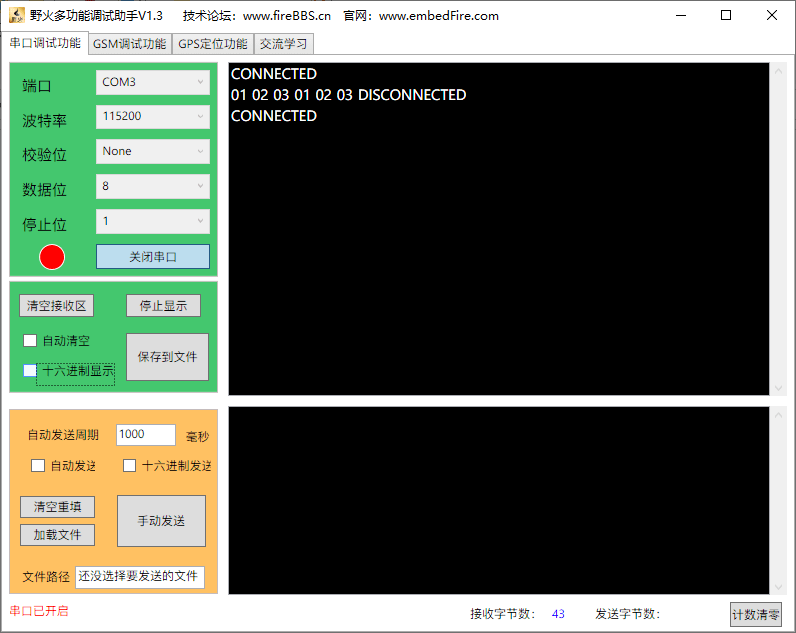
由于之前使用的串口调试工具是putty,无法显示 16 进制数据,而小程序又只能发送 ArrryBuffer,测试的时候 wx.writeBLECharacteristicValue 明明都是成功,串口调试工具却没有任何反应,导致我一度以为是代码有问题,调试了半天,google 百度社区都找不到答案,最后在网上看到一张野火调试助手的截图里面有个16 进制输出,才明白原来我用的串口调试工具不支持 16 进制输出。换成野火之后,调试成功。
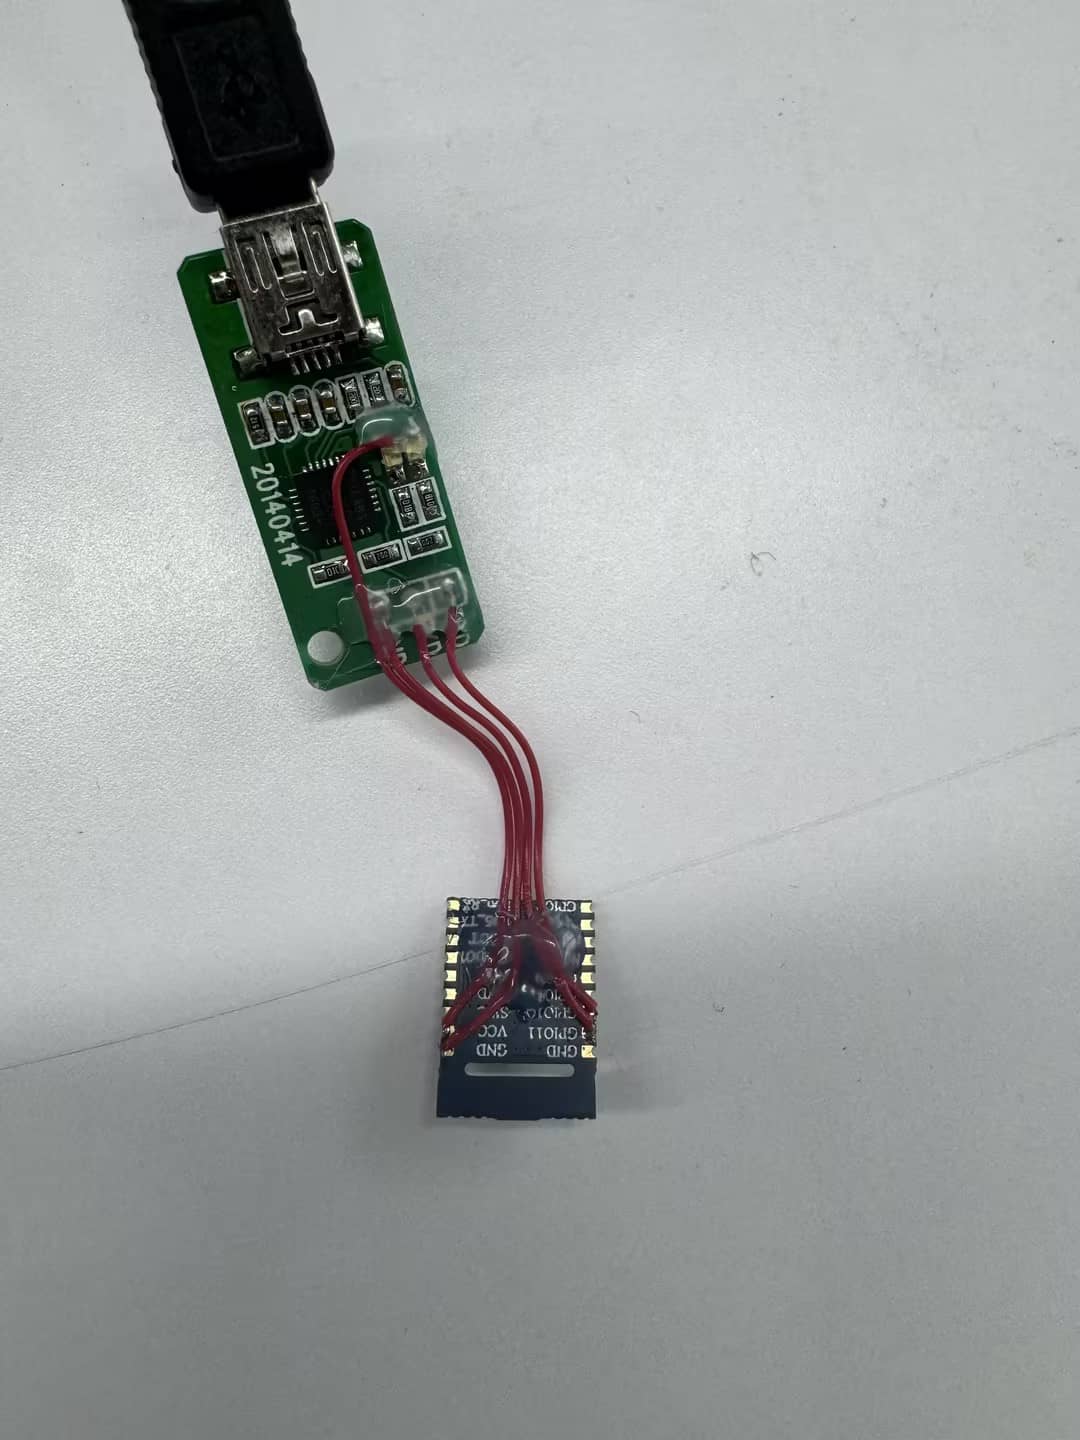
7.项目图片
comments powered by Disqus